Disclosure: This post may contain affiliate links, meaning if you decide to make a purchase via my links, I may earn a commission at no additional cost to you.
When I first opened my Etsy shop back in 2019, I wasn’t creating my own illustrations.
Like many new digital product sellers, I was designing templates and printables, learning SEO, figuring out what people wanted to buy, and simply trying to make my first sale.
Fast forward a few years and my business has evolved in ways I never imagined.
These days, one of my favourite parts of my week is sitting down with my iPad, opening Procreate and bringing a new collection of illustrations to life. Whether it’s a cosy pumpkin for an autumn bundle, a whimsical fairy, or a collection of bookish clipart, there’s something incredibly satisfying about starting with a blank canvas and ending up with artwork that someone else will use in their own creative projects.
What I love most is that every illustration has a little piece of me in it.
Every brush stroke, every tiny highlight, every imperfect line has been drawn by hand.
But creating the artwork is only half the process.
If you’ve ever sold clipart on Etsy, you’ll know that there’s a whole lot of work that happens after you’ve finished drawing. Backgrounds need removing. Files need exporting. Artwork sometimes needs upscaling. Occasionally you might even want to convert an illustration into a vector so you can create SVG files or other scalable products.
They’re not the glamorous parts of being an artist, but they’re essential if you want to create professional products your customers will love.
So when Creative Fabrica invited me to test their new Studio Desktop application, I was genuinely curious to see how it would fit into my workflow.
Rather than testing it with stock images or AI artwork, I decided to put it through a proper test using my own hand drawn illustrations, because that’s how I knew I’d discover whether it was actually useful for creators like us.
From Sketch to Finished Illustration
Every collection I create begins in exactly the same place… Procreate.
I don’t usually start with a detailed plan.
More often than not, I’ll have a cup of coffee beside me, put on a podcast or audiobook, and simply begin sketching whatever idea has been floating around in my head.
Sometimes it’s inspired by a season.
Sometimes it’s a product idea I’ve spotted trending on Etsy.
Other times, it’s simply because I woke up wanting to draw something whimsical.
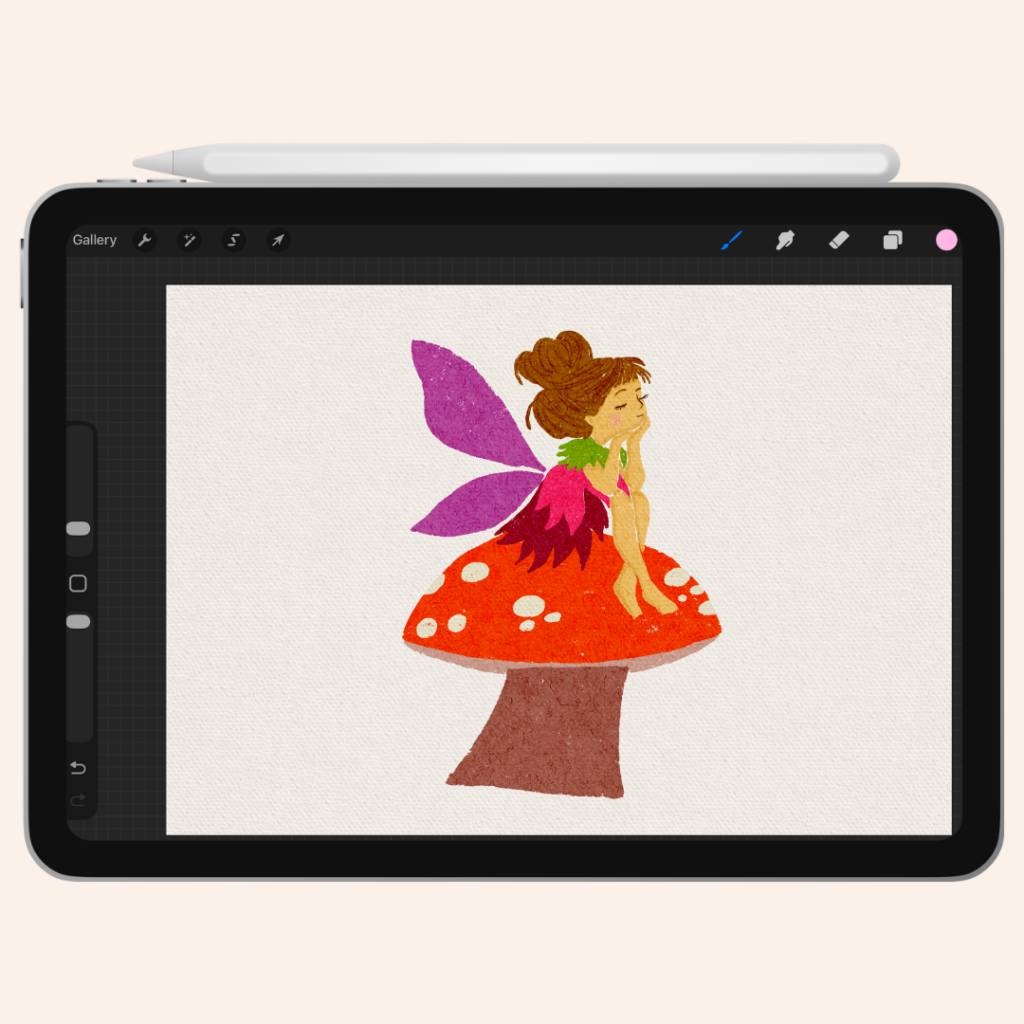
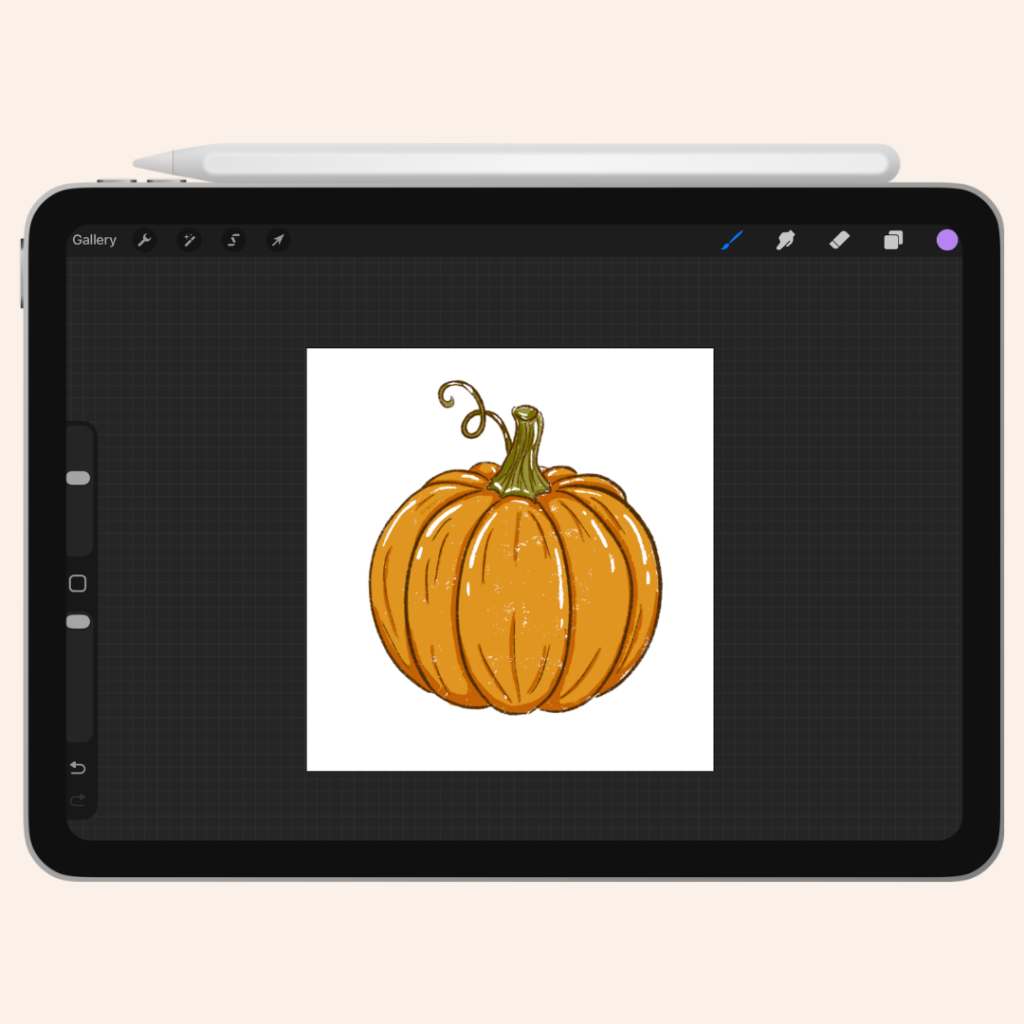
Lately I’ve been creating lots of autumn artwork, so naturally a little pumpkin found its way onto my canvas.
At the same time, I also had a fairy illustration I’d recently finished that I absolutely loved because of the textured watercolour paper effect.
Those two illustrations ended up being the perfect test.
My Biggest Concern
I’ll be honest…
Whenever I hear the words “AI background remover”, I immediately become a little sceptical.
Not because I don’t think AI has its place, but because so much of my artwork relies on texture.
I intentionally use brushes that leave little imperfections.
I add subtle grain.
I want my illustrations to feel like they’ve been painted onto real watercolour paper.
That’s part of their charm.
The last thing I wanted was an overly aggressive AI tool that would smooth everything out until it looked flat and plastic.
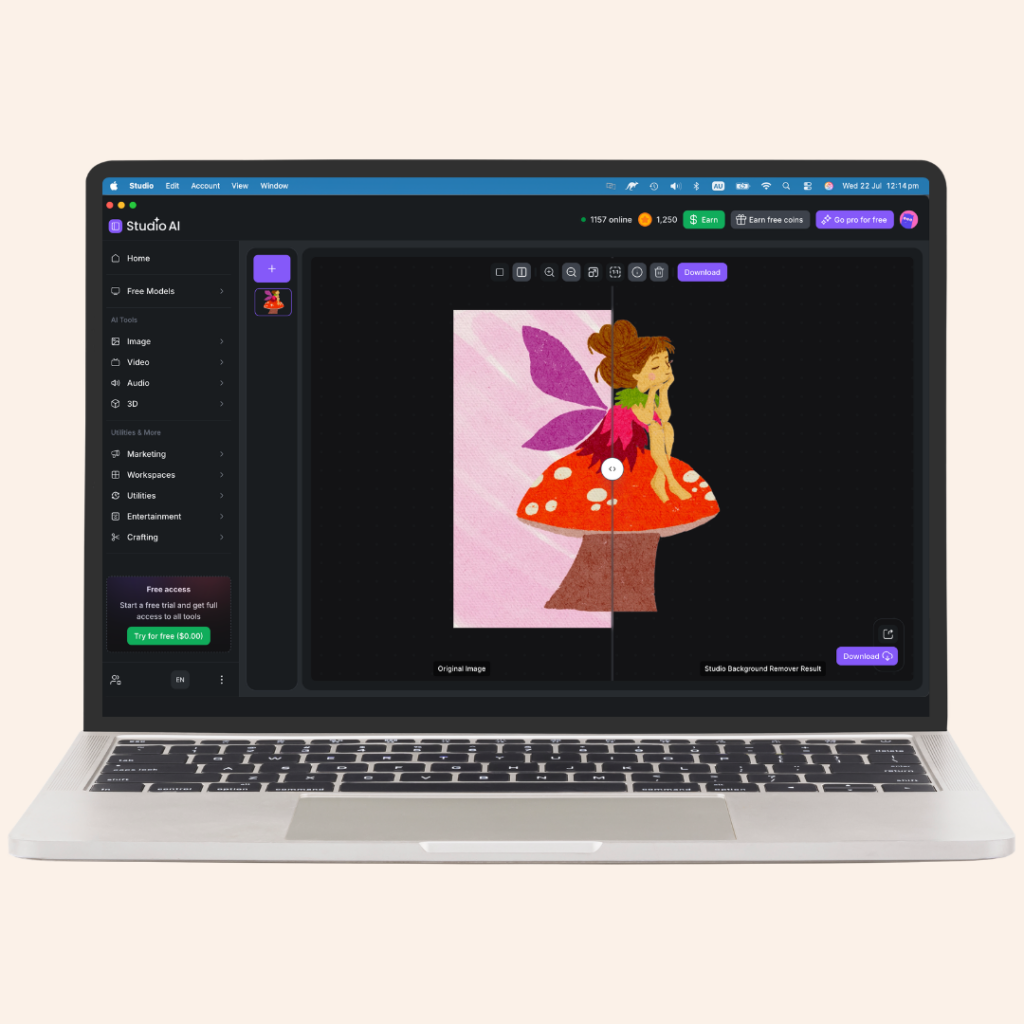
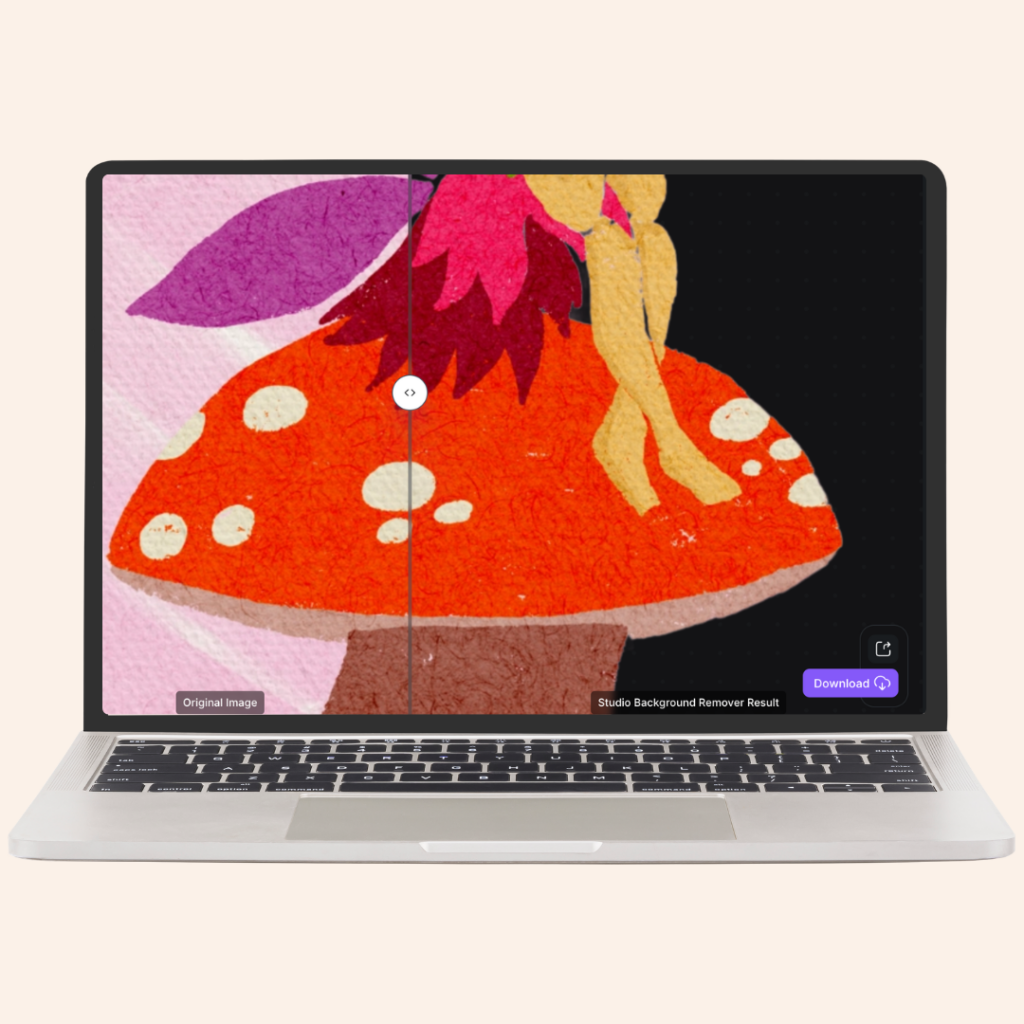
So I opened the free local AI background remover inside Studio Desktop.
The fairy illustration felt like the perfect test because if the software could preserve that paper texture, I knew it would probably handle most of my artwork.
And honestly?
I was pleasantly surprised.
The background disappeared beautifully, but the texture stayed exactly where it belonged… inside the artwork itself.
Little details that I’d spent time adding in Procreate were still there, and that made a huge difference.
As someone who spends hours drawing each illustration, that’s probably the biggest compliment I can give the software.
Turning Hand-Drawn Artwork into Vectors
Next came the pumpkin.
If you’ve followed my YouTube channel for a while, you’ll know I absolutely love experimenting with different product formats.
Sometimes an illustration stays as clipart.
Other times it becomes stickers.
Sometimes it’s turned into planner covers, wall art or even SVG files for Cricut users.
Having the flexibility to move between different formats opens up so many more opportunities for a single illustration.
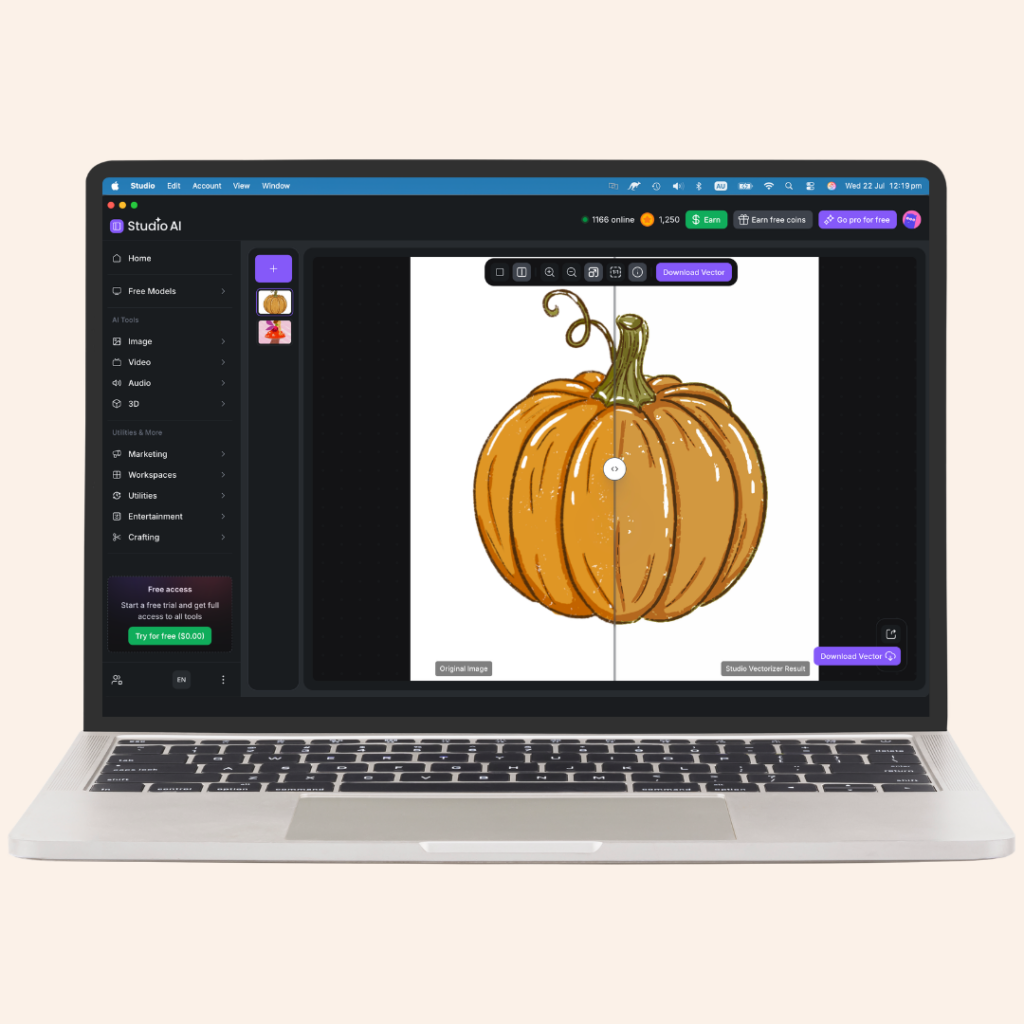
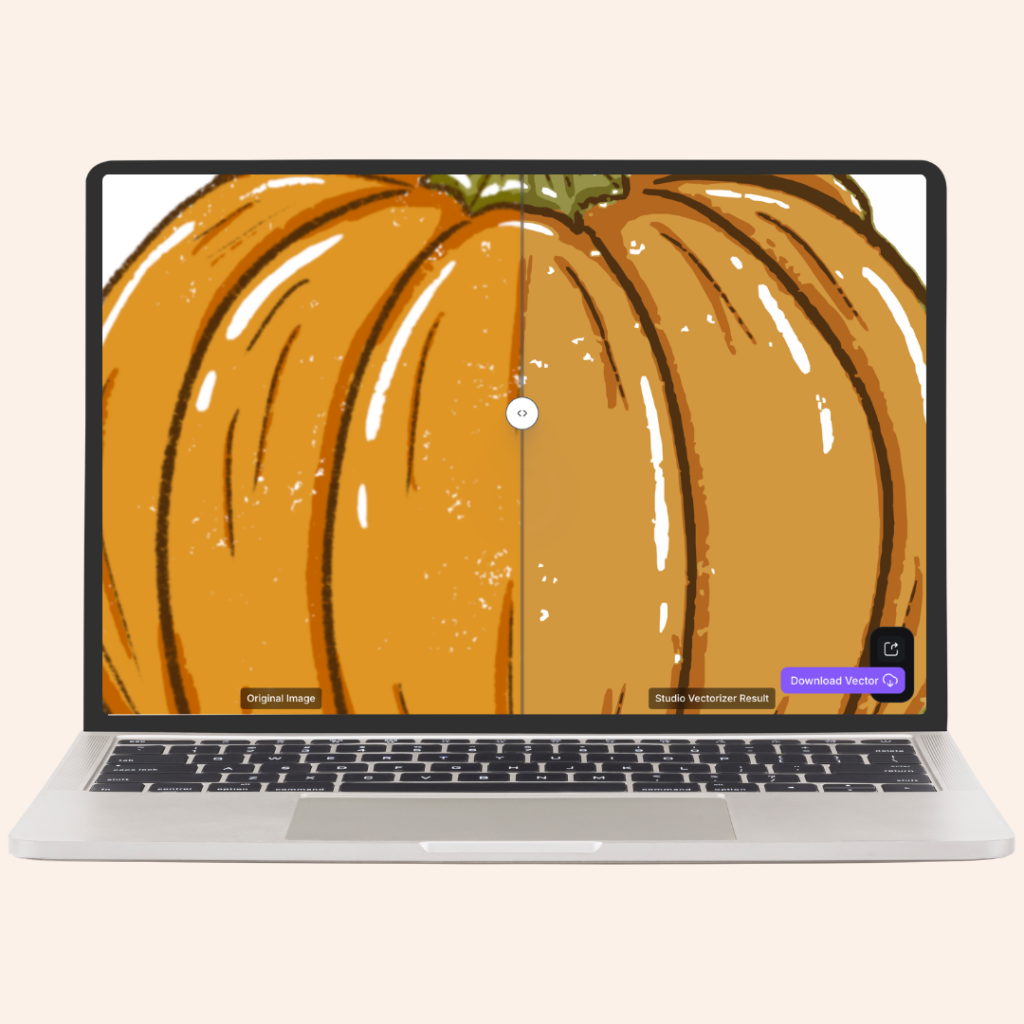
So I thought… let’s see what happens if I vectorise this little pumpkin.
Again, I expected to lose some of that handmade feel.
Instead, I found the software cleaned up the illustration while keeping the overall character that I’d drawn into it.
It wasn’t trying to redraw my artwork.
It was simply creating a cleaner vector version that still looked like my illustration.
For anyone wanting to expand into SVG products, I think that’s incredibly useful.
Upscaling Older Artwork
One thing I don’t think we talk about enough as artists is that our work grows with us.
Some of the illustrations I created a few years ago were made at much smaller canvas sizes because I simply didn’t know any better.
They’re still illustrations I’m proud of, but occasionally I wish I had created them larger so they could be used across even more products.
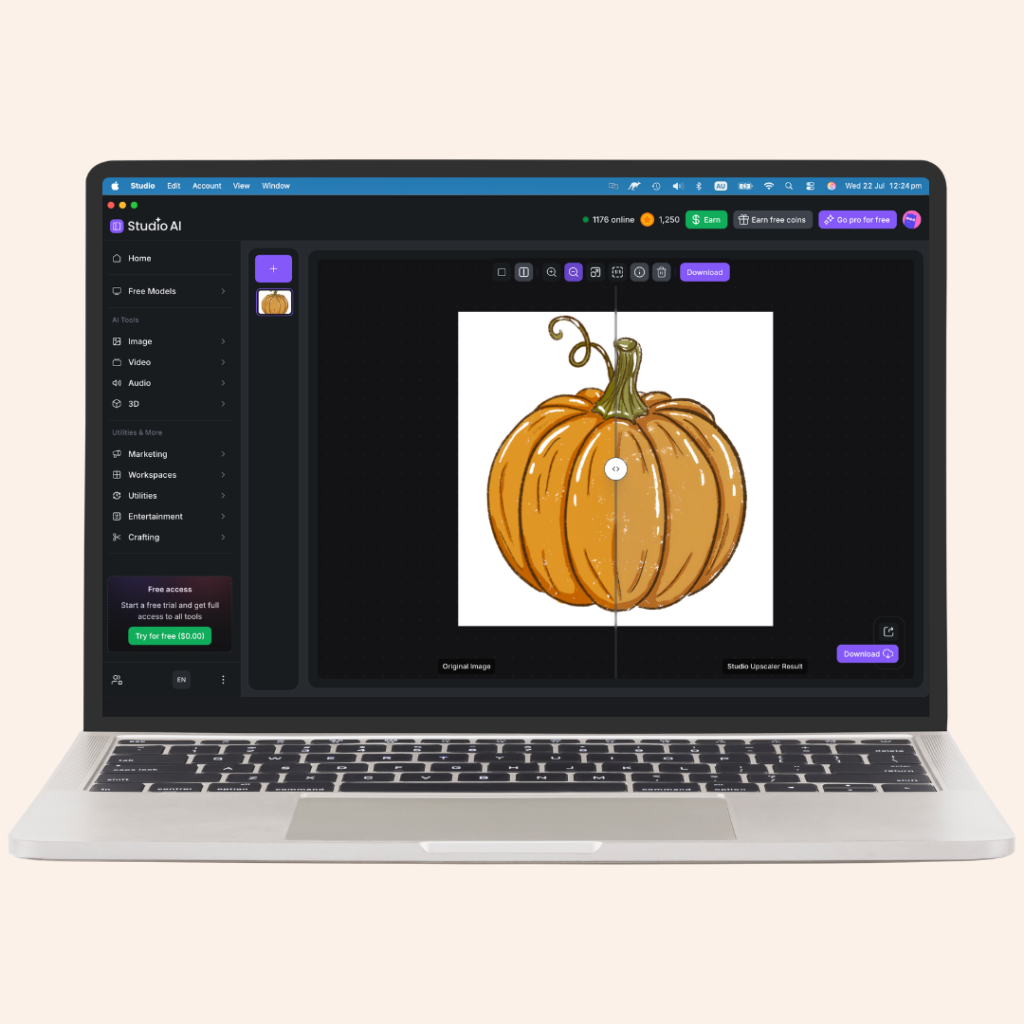
That’s where I think the free AI image upscaler for desktop really shines.
Rather than making my artwork look over-sharpened or artificial, it simply gave me a cleaner, larger version that still felt true to the original.
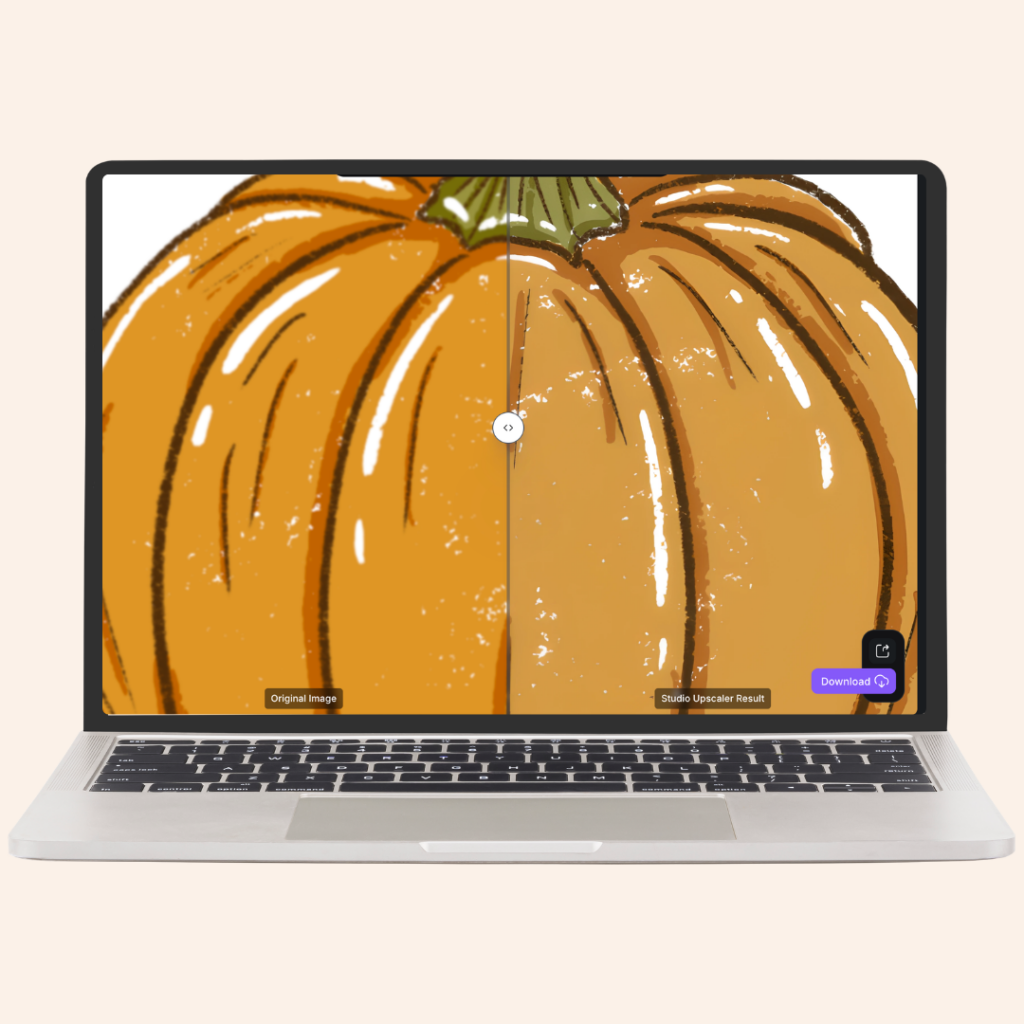
It’s one of those tools I probably won’t use every day, but when I do need it, I can already see it saving me a lot of time.
Protect Your Creative Energy
One thing I’ve learnt over the past few years is that creating digital products isn’t about finding shortcuts.
It’s about protecting your creative energy.
I don’t want software that replaces my drawing.
I want software that helps me spend more time illustrating and less time doing repetitive tasks.
That’s exactly how I see Studio Desktop fitting into my workflow.
Procreate is still where all of my ideas begin.
That’s where the creativity happens.
Studio Desktop simply helps me prepare those illustrations so they’re ready to become products that people can download, enjoy and create with themselves.
And I think that’s what impressed me most about this whole experience.
The software didn’t try to change my artwork.
It simply helped me get it ready for the next stage.
The background remover preserved details I genuinely thought might disappear, the vectoriser gave me another product format to experiment with and the upscaler breathed a little more life into artwork that might otherwise have stayed tucked away on my iPad.
As someone who makes a living creating digital products, those little improvements add up.
If you’re also an illustrator, Etsy seller or digital product creator, I’d encourage you to have a play with it yourself. You might find, like I did, that it earns a permanent place in your creative workflow.