Have you ever been scrolling on Pinterest, only to be stopped by an incredible art printable design? Maybe you’ve purposely opened up your Pinterest app and typed in something like “boho digital art print for bedroom” and then got bombarded with 100’s and 100’s of amazing designs.
Here’s the thing, it’s more than likely that those printable designs you discover on Pinterest link back to a printable or digital art that can be purchased from a seller on Etsy.
I’m guessing if you’ve made it to this blog post, you’re probably thinking to yourself… “how can I make art printables to sell on Etsy too?”
Well, you’re in the right place, because in this article you’ll learn the step-by-step process of how to make art printables to sell on Etsy, just like I do for my own art printable shop, OverTheMoonPrintsCo.
Now just a heads up, along with this article is a full step-by-step video tutorial that you can watch and follow along with. My recommendation is to read this article and then go watch the video as it will show you a more in-depth look at each step and how you can replicate it for your own Etsy shop.
Okay, so let’s get into the steps on how to make art printables to sell on etsy.
Step 1: Decide what theme/style designs you’ll be selling.
Before you go ahead and start creating, you want to first think about the type/style of digital prints you’ll be selling in your shop. Understanding the type of customer you want to attract is crucial to having a successful shop.
For example, a pregnant, soon to be first-time mum would not go looking for art prints for her baby’s nursery from a store that predominantly sells artwork for home offices, right?
Understanding your “Ideal Customer”, picking a specific niche and ensuring you have a coherent style across your designs will also help you to attract more buyers who will LOVE and want to buy your printables.
Step 2: Find your design assets.
Once you’ve decided on what niche and style of artwork you would like to create, it’s now time to find and purchase the design assets (i.e the graphics and clipart) that you’ll be using to create your printables.
My number one, go-to place for finding the best clip art, graphics and illustrations for my designs is Creative Market. Creative Market is the perfect place to find your assets because it’s a marketplace specifically suited to creative artists and designers. Creative Market also understands their ideal customer and have thoughtfully considered their terms or use and licences. That way when you purchase a product under their commercial licence to use in your designs, you can be confident knowing that you’re able to use them within your printables AND sell then sell on Etsy without compromising any copyright issues.
Step 3: Start designing.
Here comes the fun part… designing your printables.
For my designs, I use and recommend the online design tool, Canva Pro. I have used programs like Adobe Illustrator, InDesign and Photoshop for designs in the past, but for beginners, you can’t pass up the simplicity, ease of use and easy learning curve that Canva offers.
When starting with Canva, you can get away with starting with their free plan. However, in order to create a streamlined design experience and have the full functions that Canva has available, I highly recommend upgrading to Canva Pro. The Pro features that help me with my design process is the background remover, the ability to upload my own fonts and also the magic resize button that allows you to magically resize any document with the click of a button.
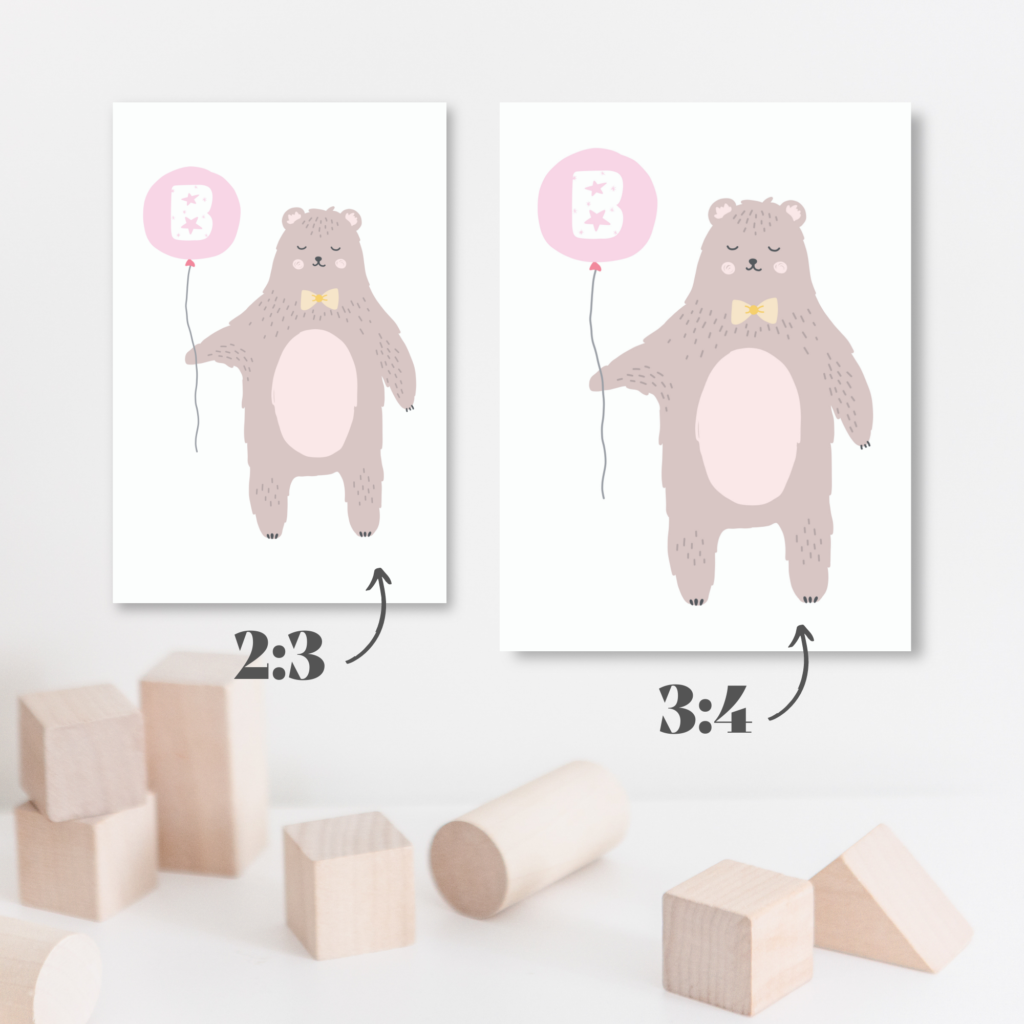
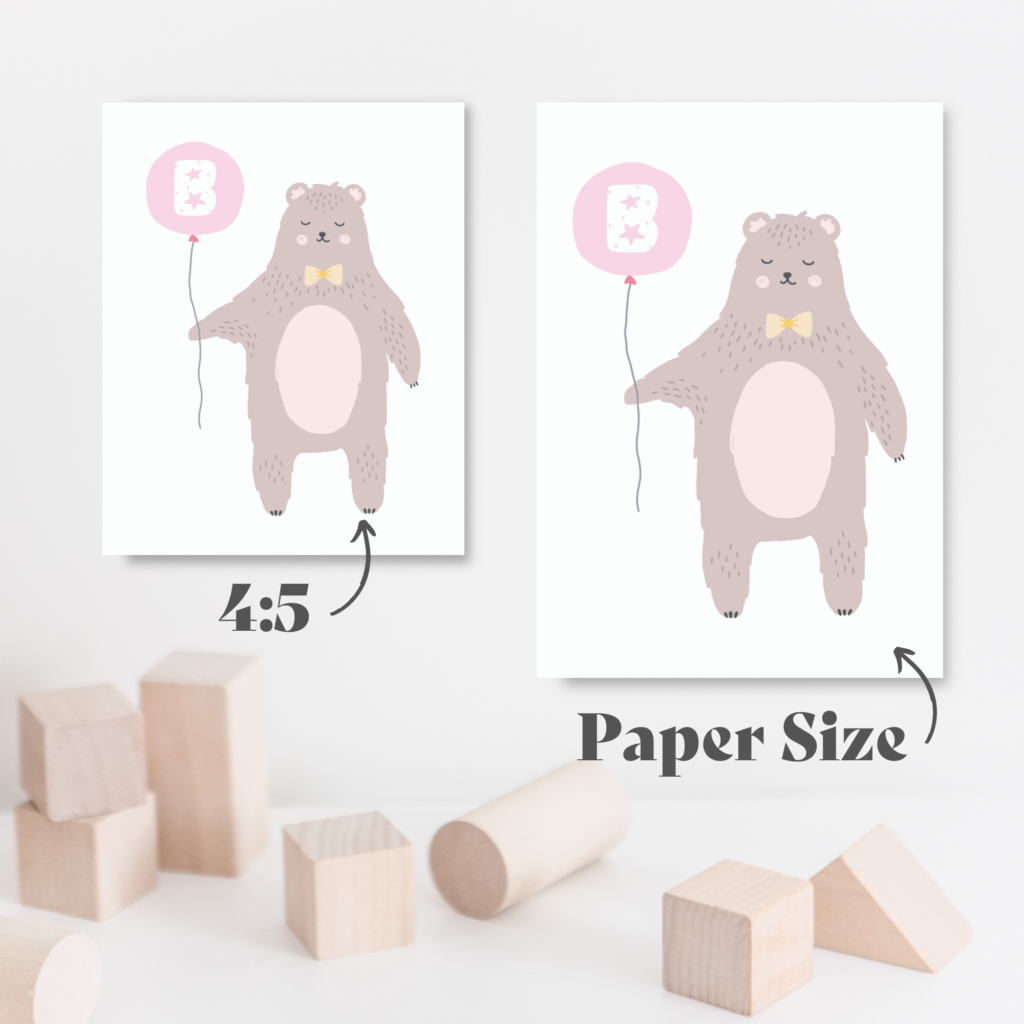
When creating artwork for my own Etsy shop, I like to offer customers the final file(s) in 4 different sizes. The reason for this is so that the customer is able to find the right size to fit almost any frame that they have.
The 4 size ratios I offer my customers are:
- 4:5 ratio
- 3:4 ratio
- 2:3 ratio
- Paper sizes
For a 4:5 ratio, I start with an 8″ x 10″ canvas, a 3:4 ratio, a 9″ x 12″ canvas, a 2:3 ratio, a 10″ x 15″ canvas and for the Paper Size, I start with an A3.
Start off by opening up a new design in Canva using the 8″ x 10″ dimensions (we can copy & resize the final design later). Once you have your blank template open, start uploading and inserting your design assets into your design.
Add in your clipart, custom fonts and any other elements to create a unique art printable that is designed with your ideal customer and niche in mind.
Be sure to watch the video tutorial to get a better look into how I design and create the final artwork.
Step 4: Save your files.
Once you’re happy with the final design, it’s time to save your artwork.
I recommend saving the final design as a PDF Print file, as this will ensure that the design is saved in high quality, 300dpi format.
Then go ahead and copy & resize this design into the 3 other ratios as stated above, save each one as a PDF Print file, essentially giving you 4 x PDF files in the same design.
Step 5: Create your mockups.
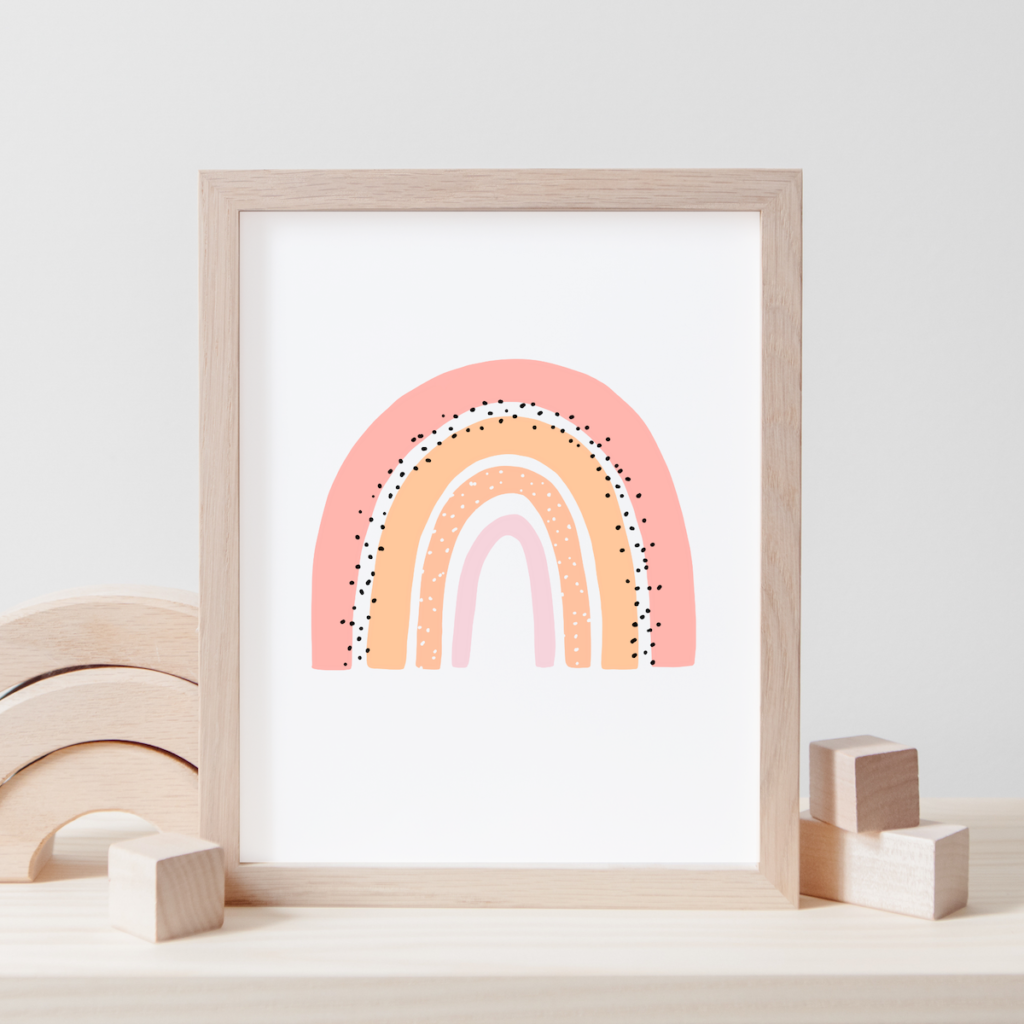
Once you have the PDF Print files ready to upload to your Etsy listing, the next part of this tutorial is to create your mockup images. These mockup images are the photos you’ll be using to upload into your Etsy listing for your customers to see.
Having good quality Etsy images is a must when selling your digital art prints, as it helps to give your customer a sense of what the product could look and feel like when they get it printed and framed.
I have two different methods of creating amazing looking thumbnails within Canva. One is to find a mockup image within Canva’s image library.
To do this, just type “mockup” in the search bar, followed by the type of mockup you’re creating (i.e “mockup nursery”). Canva will then display a whole heap of different images that you can use for your mockup images. Save a .PNG copy of your original design, upload it back into Canva and then insert it into your mockup image. Make any adjustments to the size until it fits within the frame.
Another way you can create your mockup images within Canva is to use their Effects feature, Smartmockups. Smartmockups allow you to create a mockup with just one click.
In order to get a better understanding of how Smartmockups work, be sure to check out the video included in this tutorial.
Step 6: Upload to Etsy.
Once you’re happy with the final mockup images, you’ve created your 4 x PDF Print files, now all that’s left is to upload it all to your brand new Etsy listing.
Bonus tip: I recommend saving the 4 x PDF print files as a compressed Zip folder, making it easier to upload to Etsy.
When you’re inside your Etsy shop dashboard, click on Listings > + Add new listing to start the process of adding the printable to your Etsy shop.
Here is a breakdown of what you’ll want to include in your Etsy listing:
- Add your Etsy listing images (these are the mockups you created in step 5).
- Add a 15-second video (if you have one)
- Include an SEO optimised title
- Choose a category (I usually add Digital Prints)
- Add in details of your listing including colour, subject, room type, home-style, even celebration (if it applies to your listing)
- Add a detailed description
- Select a shop Section
- Add your SEO optimized tags,
- Add your prince
- Upload your Zip file (this includes your artwork and Instructions Guide)
- Then hit publish!
And there you have it, the step-by-step process on how to make art printables to sell on Etsy.
Pretty cool, right?
If you liked this article and want to learn more about selling digital products on Etsy, then be sure to check out these other helpful articles:
- How to Create a Printable Daily Planner You Can Sell on Etsy Using Canva
- How to Make Money Selling Planners on Etsy
- How to Sell Canva Templates on Etsy & Make Over $1,000 p/m
Have you joined the Etsy Seller’s Community & Market Hub?
I created the Etsy Seller’s Hub, specifically for sellers and shop owners looking for tools, resources and templates to help with their Etsy shop. Inside the hub, you’ll find free templates, resources and recommended programs that will help you start and build a successful shop on Etsy.
Access to the hub is completely free, so be sure to sign up today!
