Disclosure: This post may contain affiliate links, meaning if you decide to make a purchase via my links, I may earn a commission at no additional cost to you.
There’s something magical about waking up to sales that rolled in overnight. No boxes to pack, no shipping labels to print, no inventory to worry about, just digital products doing their thing while you sleep.
That’s the beauty of this business model: you create once, and your work keeps serving others again and again.
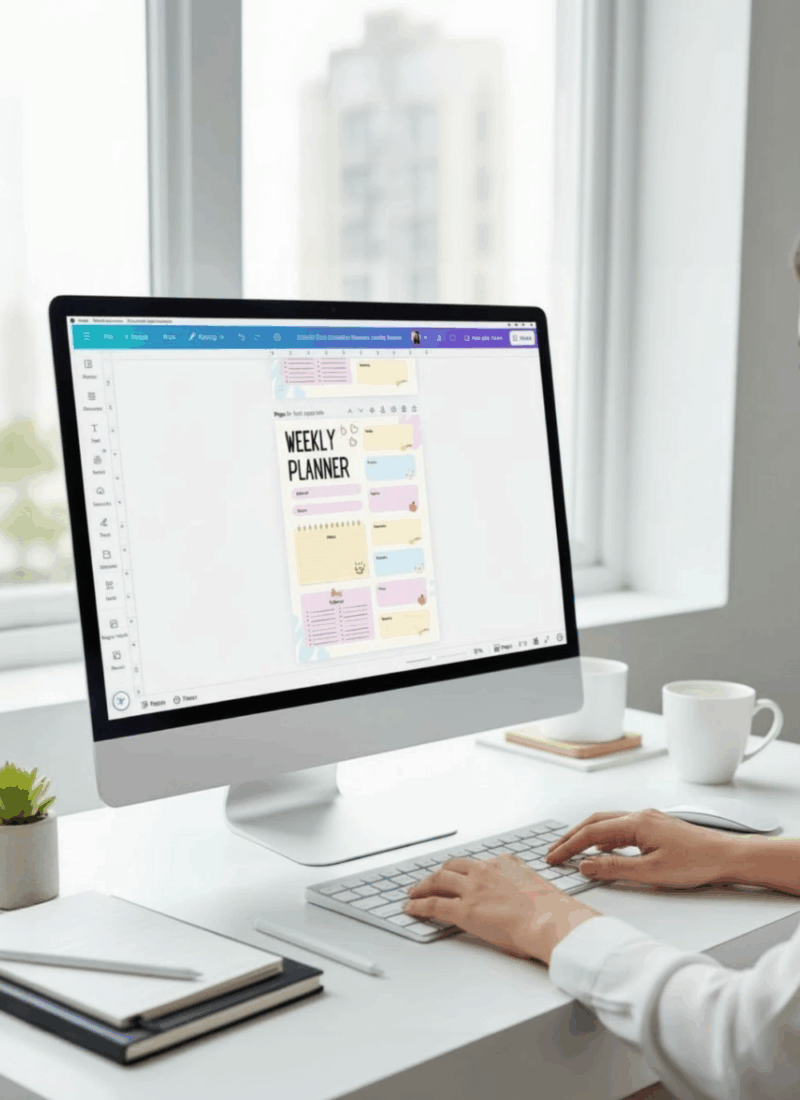
I’ve built two Shopify stores around digital products. My main shop, Alicia Rafiei Shop, where I’ve made thousands of dollars selling digital templates and resources, and a newer secret printables store that’s only a month old but already making sales. It’s been such a fun experiment that’s reminded me of why I love digital products so much.
If you’ve been wondering how to set up your own store, this post walks you through exactly how to do it, step by step, so you can start building your own digital product income stream.
✨ Want extra support while you build?
You can grab my free 30-Day Shopify Action Plan, a step-by-step checklist, worksheets, and ChatGPT co-creator prompts to help you launch your store in a month, inside my free community, The Digital Creators Collective.

Why Shopify is Perfect for Digital Products
If you’ve ever sold on platforms like Etsy, you’ll know there’s only so much control you have over your brand and your customer experience. Shopify gives you complete freedom to design your store, set your pricing, and create the kind of experience that reflects your vision, without needing to be tech-savvy.
Digital products are amazing because you only need to create them once. After that, your store handles everything… the checkout, delivery, and payment, while you focus on what matters most: creating, marketing, and connecting with your audience.
You can sell just about anything digital: printables, planners, templates, guides, audio loops, stock photos, swipe files, and more. With no shipping costs or product storage, your profit margins are high, often close to 100% once your setup is done.
In short: Shopify takes care of the heavy lifting while you focus on creating products that genuinely help people.
Getting Started with Shopify
Before we jump into the detailed setup steps, let’s talk about what makes Shopify such a great home base for your digital products.
Shopify was designed for creators like us, people who want a professional, automated store without needing to build one from scratch. You can customise your storefront, upload products, connect payment options, and automate delivery, all within one dashboard.
And the best part? You can start your Shopify store for free and only upgrade when you’re ready to go live.
Now let’s go through how to set up your store from scratch.
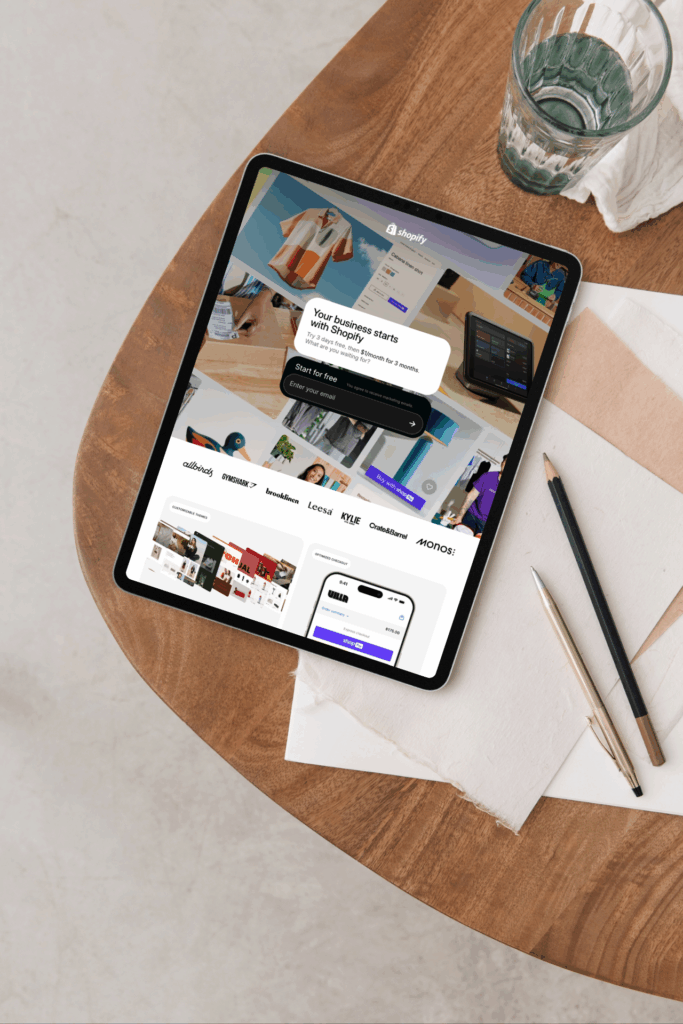
Step 1: Create Your Shopify Store
The first step is creating your Shopify account. Go to Shopify’s free trial page, enter your email, and choose your store name. Don’t stress about getting the name perfect straight away — you can change it later if inspiration strikes.
Shopify will walk you through a short onboarding quiz. Choose “digital products” as your focus so the platform can tailor some of the settings for you.
Once your store is created, you’ll land inside your Shopify dashboard, the home for everything from adding products to managing payments.
Step 2: Connect Your Domain
Your domain is what customers will type in to reach your store (for example, yourstorename.com). Shopify makes it super easy to buy a domain directly inside your account, or you can connect one you already own.
From your Shopify admin, go to Settings → Domains, then choose your preferred option. I always recommend keeping it short, clear, and easy to spell.
This small step makes your store look instantly more professional, and helps customers remember you.
Step 3: Design a Store That Feels Like You
Your storefront is your first impression. You don’t need to overthink it, clean and simple almost always wins.
Shopify comes with beautiful free themes (like Dawn), which are perfect for digital product sellers. You can easily tweak colours, fonts, and images to align with your brand.
Stick to a consistent palette, add a logo, and use high-quality mockups that show off your products. White space is your best friend here. You want your customers to focus on the product, not get lost in clutter.
And because most of your visitors will shop on their phones, always preview your store on mobile to check spacing, font size, and how your checkout feels. A smooth mobile experience makes a big difference to conversions.
Step 4: Build the Essentials
Every great store has a few must-have pages that help build trust and guide customers toward buying. Here’s what I recommend:
- Home Page: Your headline, hero image, and a clear call to action.
- Shop Page: Organise your products into easy-to-browse collections.
- Product Pages: Each product should have its own page with mockups, what’s included, and how it helps.
- FAQ Page: Answer common questions about downloads, access, and usage.
- Contact Page: Give people a simple way to reach you if they need help.
You can always build more later, but these five are a great foundation to start.
Step 5: Automate Your Digital Deliveries
Now for the fun part, making your shop fully automatic!
The beauty of digital products is that customers can receive them instantly after purchase. Shopify has several apps that make this seamless.
Three of my favourites are Digital Downloads, Sky Pilot and BIG Digital Downloads Products. These allow you to attach files to products and send instant download links via email after checkout.
Here’s how it works:
- You upload your files to the app and connect them to the matching product.
- The customer buys.
- They instantly receive a secure download link (no manual sending, ever).
For example, if I sell a Canva template, I include the Canva link inside a short PDF guide and upload that file to Digital Downloads. Customers download the PDF, click the link, and start editing straight away.
It’s quick, professional, and hands-free… exactly how digital selling should be.
Step 6: Create and List Your First Product
When you’re just starting out, focus on one great product, something simple, valuable, and useful.
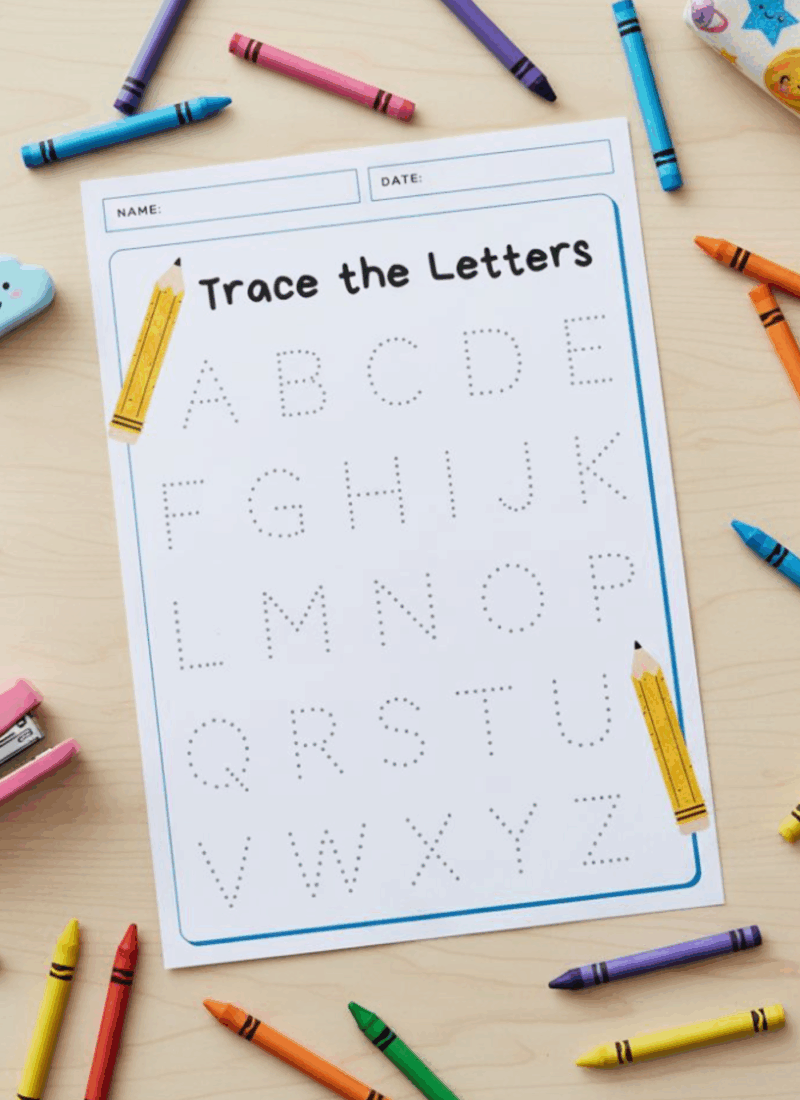
Some of the best-selling ideas include printable planners, budgeting sheets, Canva templates, digital art prints, and small business resources.
The secret to success is solving a specific problem. Instead of a generic planner, create a “90-Day Fitness Tracker” or “Wedding Budget Spreadsheet.” The more specific you get, the easier it is for buyers to see themselves using it.
When uploading your product to Shopify, include:
- A clear, benefit-driven title
- What’s included (number of pages, file types, sizes)
- High-quality mockups showing the inside pages or key features
- A simple usage guide (for example, “Open in Canva and customise instantly”)
Make sure to uncheck This is a physical product when you add your listing, so Shopify doesn’t add shipping options.
Step 7: Price Your Product Confidently
Pricing digital products can feel tricky at first, but there’s no need to overcomplicate it.
For most printable and digital templates, prices between $7–$19 are perfect for single items. If you’re offering a larger bundle or more advanced resource, $29–$49 works beautifully.
I like to launch a new product with a short “introductory offer” to reward early buyers and create some excitement. After that, I set it at its regular price.
You can also experiment with bundles to increase your average order value. For instance, pairing a “Daily Planner” with a “Weekly Planner” at a small discount encourages customers to grab both.
Step 8: Design a Product Page That Converts
Your product page is where your customer decides whether or not to buy — so clarity and trust are key.
Start with a strong headline that clearly states what your product helps with. Follow up with a paragraph that explains who it’s for and how it will make their life easier.
Then, list what’s included in the download. People love knowing exactly what they’re getting.
Use a mix of lifestyle mockups and screenshots that show inside pages. Include at least five images, and if you can, add a short video flip-through — it builds trust instantly.
Finally, make sure there’s a clear call to action (“Add to Cart” or “Buy Now”) and a short note about instant delivery (“Your files will be sent straight to your inbox after purchase”).
Step 9: Drive Traffic to Your Store
Here’s where the magic happens… getting people to actually find your products.
For my main store, my top traffic sources are YouTube, email, and my free community. Each of these lets me share valuable content and naturally lead people to my products.
YouTube is my favourite because it builds trust fast. When people watch you teach or demonstrate something, they’re far more likely to buy from you.
My email list is where I deepen those relationships. I send a mix of helpful tips, product updates, and behind-the-scenes stories that my audience genuinely enjoys reading.
And inside my free community, I share quick wins, answer questions, and link to resources when they’re relevant, it’s never pushy, just helpful.
For my new printables store, I’m experimenting with a totally different traffic strategy, Pinterest to blog to Shopify.
Here’s how it works:
I create Pinterest pins that lead to a blog post on my website. Inside the post, I include calls to action that link directly to my products on Shopify. Those pins are now getting thousands of views, and the blog-to-Shopify funnel is working like a dream.
It’s been such a great reminder that you don’t always need a huge audience, just the right content and systems in place.
Step 10: Keep Improving and Growing
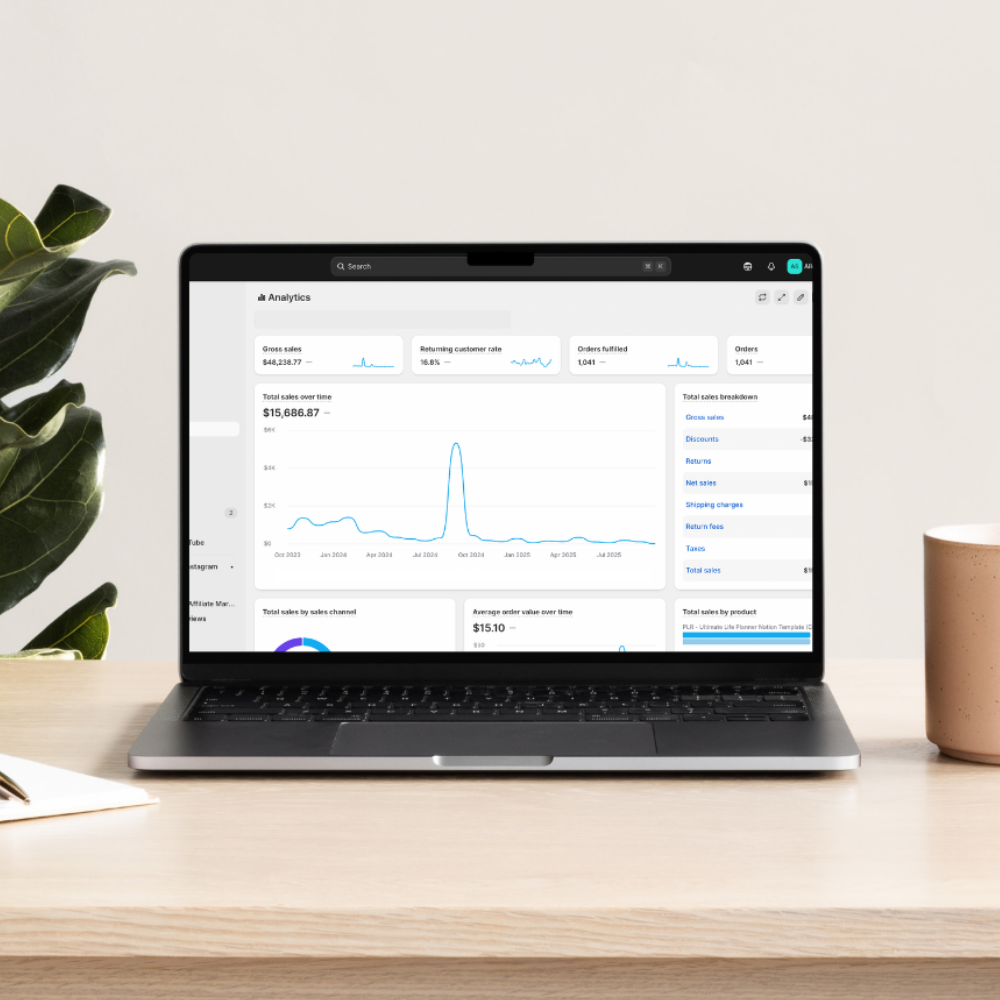
Once your store is live, keep learning and tweaking. Check your Shopify analytics to see which products and pages are performing best.
Update mockups, experiment with bundles, and collect feedback from your first buyers. Tiny improvements each week add up to huge progress over time.
If you’d love to follow a guided plan for this, grab the 30-Day Shopify Action Plan, it breaks down everything you’ve just read into daily steps, checklists, and ChatGPT prompts to help you stay consistent and confident.
You can access it free inside The Digital Creators Collective.
Ready to Start Your Own Store?
If you’re waiting for the perfect moment to start, this is it. You don’t need a big audience or a perfect brand. You just need one digital product, one store, and the courage to begin.
When I launched my first store, I was working from the kitchen table during nap times, figuring it out as I went. My second store (the secret printables shop) is already making sales after one month, simply because I took action.
You can do the same.
Start small, learn as you go, and let your shop evolve with you.
And remember, you don’t have to do it alone. Inside The Digital Creators Collective, you’ll find creators just like you, building their first stores, supporting each other, and using the 30-Day Shopify Action Plan to stay on track.
So take your first step today.
👉 Start your free Shopify trial, then join The Digital Creators Collective to grab your free Action Plan and start building your dream digital store.
You’ve got this. 🌿