Disclosure: This post may contain affiliate links, meaning if you decide to make a purchase via my links, I may earn a commission at no additional cost to you.
Have you ever wished you could jump on a trend before everyone else does? I know that feeling well, and today I’m going to walk you through one of the most surprisingly hot selling digital products right now: printable composition notebook covers.
Even if you don’t call yourself a designer, trust me, you can do this. All you need is a simple design tool called Kittl, a bit of research, and a creative spark.
So pull up a chair and stick with me as I show you step by step how to turn this rising trend into something you can add to your shop in no time.
Let’s break it all down, from why these covers are hot, right through to getting your designs ready to sell and standing out, even in a sea of AI-generated art.
Why Composition Notebook Covers Are Flying Off the Virtual Shelves
I’ve seen a lot of digital product fads, but this one is different. Composition notebook covers are digital files that customers print on sticker paper at home and use to jazz up their basic notebooks. They’re simple, practical, and the sort of thing people actually want, especially during the back-to-school rush.
Here’s why they’re all over Etsy right now:
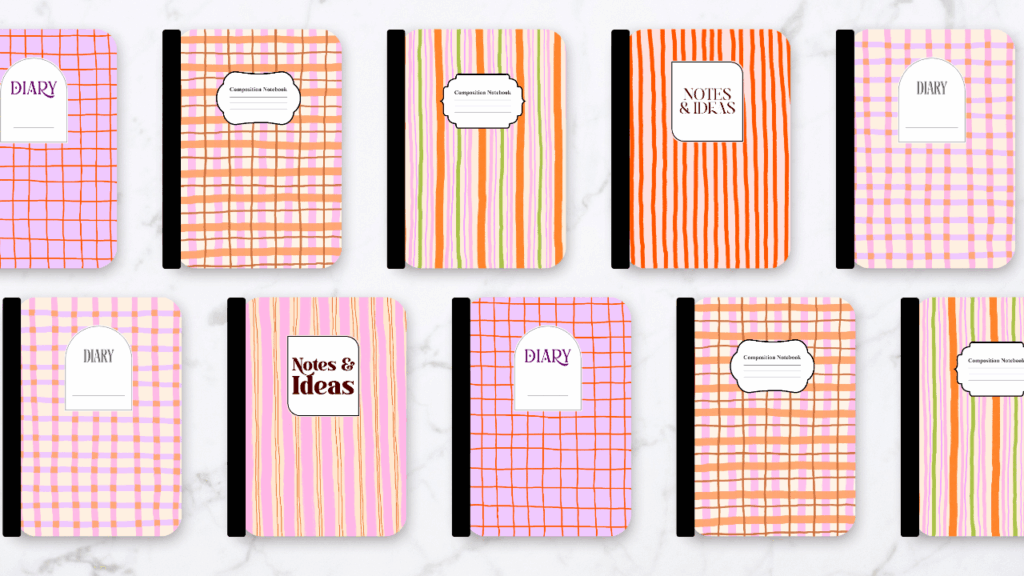
- They’re easy to make and personalise. Whether you love kawaii, boho, or pastel vibes, you can easily swap out patterns and styles to suit anyone.
- At-home printing is a breeze. Customers can download, print, and stick — no waiting for postage.
- They’re affordable. No heavy markups, and buyers get instant value.
Let me share what my research found using Everbee (my go-to product research tool):
Trending styles getting consistent sales:
- Kawaii
- Boho
- Pastel
- Back-to-school themes
What else gets results? Strong mock-ups and clear descriptions of how to use the covers. People want to see exactly what they’re getting and how it’ll look. Listings that do this convert so much better.
Here’s the secret sauce:
Don’t just guess what might be popular. Use research tools to back up your ideas, keep an eye on what actually sells, and take notes on things like price, style, and extras in top listings.
Simplicity and usefulness win hearts (and wallets) every time.
Laying the Groundwork: Planning Your Notebook Cover Project
Jumping right into design without a plan can trip you up. My best design process always starts with a bit of research and prep. Here’s how I set myself up for success:
- Find proof that people want these covers. I start by searching Everbee for “composition notebook cover”, then scan the top sellers. I jot down what stands out, like how they price bundles, what styles dominate, or whether extras are included.
- Gather visual inspiration. Pinterest is my playground here. Searching “composition notebook cover”, “journal cover”, and “planner cover” gives me instant trend insights. If I spot designs with cool patterns or labels, I’ll save and screenshot them.
- Build a mood board. Either in Google Docs or directly in Kittl, I collect my screenshots, note my target style (kawaii, boho, stripes, checkers—you name it), and pin down sizing specs. For composition covers, the magic number is 6.9 by 10 inches (which fits the standard notebook cover, not including the spine).
- Decide on patterns and label ideas. I link to or screenshot patterns I want to use, and sketch out a few ideas for the composition label that usually sits on the front.
Tip: A good mood board doesn’t have to be fancy. Even a folder of screenshots you can flick through helps you keep your ideas focused and your design session a lot smoother.
Three Simple Ways to Create Notebook Covers (Even if You’re a Beginner)
You don’t need fancy skills or software to make something people will pay for. I’ll break down three ways you can start designing composition notebook covers:
1. Design it yourself
- Grab your favourite illustration tools: Procreate, Photoshop, or Illustrator.
- Hand-draw your own elements, then scan and upload them if needed.
- Make seamless patterns or fun backgrounds with your unique touch.
2. AI-generated art
- Tap into tools like MidJourney, Recraft, Canva, or Kittl to whip up seamless patterns fast.
- With AI, even beginners can create beautiful repeat patterns that look professional.
3. Use pre-made commercial use graphics (my personal favourite for quick wins)
- I use Creative Fabrica for bundles like the Cozy Sweet Handdrawn Background Bundle. It’s got soft, hand-drawn patterns in trending pastels—perfect for this project.
- Always check the commercial use license to make sure you can use these graphics for items you sell. Creative Fabrica’s bundles often make this clear, but double-check to cover yourself.
- This method is a lifesaver for beginners or anyone short on time who still wants to turn out fresh, appealing designs.
Why commercial use graphics?
It saves time, lets you stand out with high-quality artwork, and you don’t need pro-level design chops.
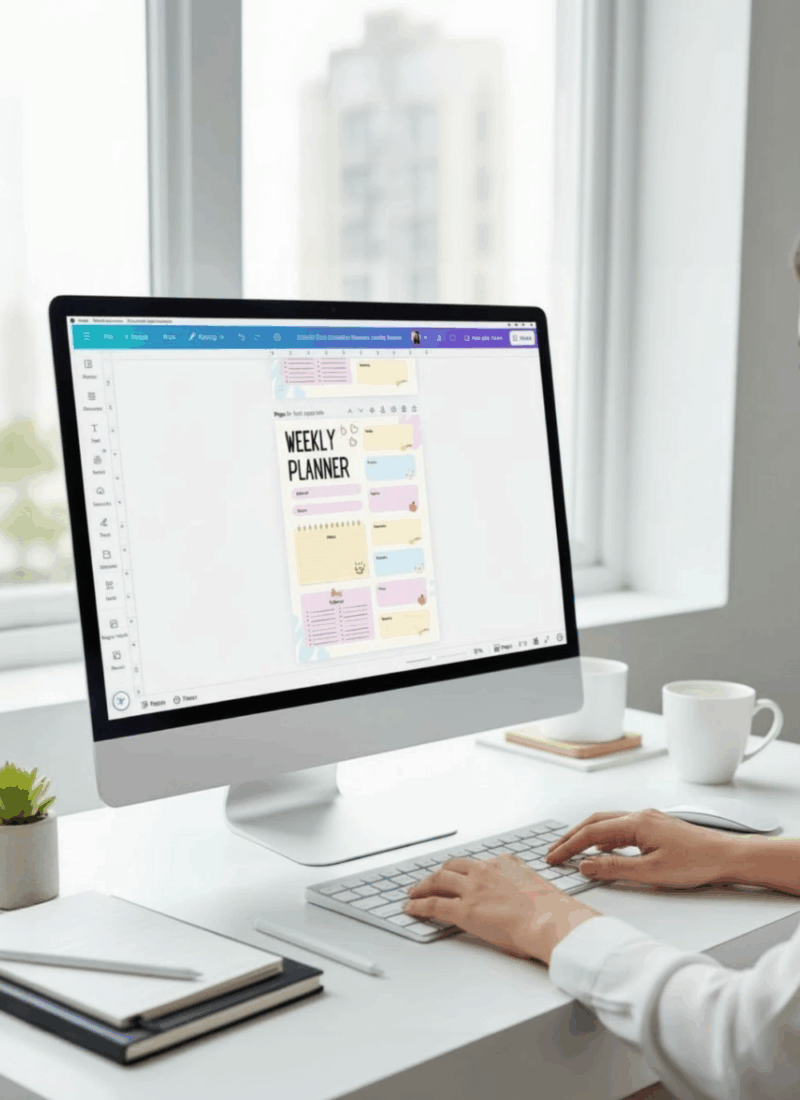
Step by Step: Designing a Standout Composition Notebook Cover in Kittl
Designing in Kittl is easier than you might think. Let’s run through my process so you can start now.
Setting Up Your Workspace and Doing Trend Checks
- Open Kittl and create a new project. Set the size to 6.9 by 10 inches at 300 DPI for crisp printing.
- Head back to Pinterest for another quick trend check. Search your keywords, scroll, and screenshot or save the covers jumping out at you. Group them by colour, style, or theme.
- Dump all your reference images into your Kittl project. Drop them beside the main artboard—Kittl’s large working space makes it easy to keep everything just a click away. Don’t worry, these won’t export with your final design.
Uploading Patterns, Labels, and Inspiration
- Hit the upload button in Kittl, bring in your saved patterns, label PNGs, and Pinterest screenshots.
- Organise these in a folder named “composition notebook.” This will help you flick through different elements as you play around with design ideas.
Assembling or Making Labels for Your Cover
- Fast track: Import pre-made labels from Creative Fabrica. Choose styles that fit your theme.
- Feeling creative? Create your own label in Kittl:
- Select a basic shape and use the corner radius slider to make rounded, curved, or pointed corners as you like.
- Change the colour, border, or add transparency so it looks right against your background pattern.
- Add a border with just a couple of clicks, and tweak the weight and colour to suit.
- Throw in a line for that classic composition book look and add a text box. Type in “Diary,” “Notes,” or whatever suits the vibe.
- Choose a font that fits trending styles, but tweak things to stay original.
Designing Your Cover
Here’s a quick checklist for putting your design together:
- Drag your chosen pattern onto the main artboard and resize to fit.
- Add the label (either from a PNG, or your custom Kittl variant).
- Centre the label either towards the top (classic look) or try something a little different by placing it in the middle.
- Adjust label size, colour, and border until it pops, but isn’t overwhelming.
- Group text and shapes for easy movement.
Want variety?
Duplicate your artboard and swap out patterns or label designs. In minutes, you’ll have a bundle of covers ready for your shop.
Make Your Products Stand Out (Don’t Stop at One Design!)
If you want your covers to sell, you need to go beyond just one pretty design. Here’s what I’ve found helps you stand out and feel more professional:
- Bundle several covers (3–5) in one listing. Stick to a common theme, like “pastel spring” or “boho chic.”
- Add an editable label page. Give your customers the option to personalise the label with their own wording using Canva or Kittl.
- Offer both PDF and PNG formats. Not everyone has the same printer or paper at home, so cover both bases.
- Use SEO-friendly keywords in your title and description. Think phrases like “composition printable notebook cover” or “notebook cover for kids.” Research with Everbee to see what’s working right now.
- Showcase use cases with clear, attractive mock-ups. Buyers want to see how your cover will look on a real notebook.
Exporting Your Designs from Kittl (A Quick Guide)
Getting your files ready for customers is just as important as making them look good. Here’s how I do it:
- Finish your designs in Kittl and make sure each artboard has its own unique cover.
- Select the artboards you want to export. You can pick several at once.
- Set to 300 DPI for sharp print quality.
- Export as both PNG and PDF files. PNGs are great for easy use, while PDFs look consistent for printing.
- Save your files with clear names so customers know what’s what.
That’s it… high-quality, print-ready covers, good to go.
Creating Mockups in Canva: Show Off What Makes Your Covers Special
A good mock-up can make the difference between a sale and a scroll-past. Buyers want to see your design “in action.”
Here’s my quick system:
- Open Canva and grab a notebook template.
- Upload your cover PNGs or PDFs.
- Drag your cover onto the template, align it with the edges, and check it leaves the spine visible.
- Make small adjustments to centre everything and get that polished look.
A sharp, realistic mock-up helps buyers picture your cover on their own notebook. I also share a free mock-up template in the Digital Creators Collective community, if you want to save time, you’ll find it in the resources section.
Tips for effective mock-ups:
- Keep it clean and clutter-free.
- Add your product name or a tagline if you want.
- Show 2–3 different cover designs together if you’re selling a bundle.
Mock-ups aren’t just for show, they build trust and help sell your product.
From Idea to Shop-Ready in One Afternoon
You don’t need to start with something earth-shattering or complicated. Stick with simple, helpful, and on-trend designs, and you’re halfway there. With tools like Everbee and Kittl, you don’t have to guess what sells, you can use real data and smooth workflows to speed things up.
Start where you are. Keep your first set simple. Each new trend you spot and make your own builds your confidence and moves your shop forward.
And if you want more inspiration, trend alerts, or a friendly place to ask questions, come join me and other digital creators in the Digital Creators Collective. There’s no pressure, just real help for building a digital product shop that actually works.
Resources & Helpful Links
- Cozy Sweet Handdrawn Background Bundle on Creative Fabrica
Beautiful hand-drawn pastel patterns perfect for notebook covers. - Composition Notebook Labels Pack on Creative Fabrica
Downloadable label PNGs for fast, professional results. - Digital Creators Collective – Free Community
Join for free resources, templates, and support from fellow creators. - https://aliciarafieiblog.com/kittlKittl Design Tool Website
My favourite easy-to-use online design tool for digital product creators. - Everbee Product Research Tool
Get real data on what’s selling so you never have to guess again.
If this post helped, consider sharing it with a friend who wants to try digital products, or bookmark it for your next creative session. You’ve got this and I can’t wait to see what you make!